How To Assemble A Razor Electric Scooter – Quick And Easy
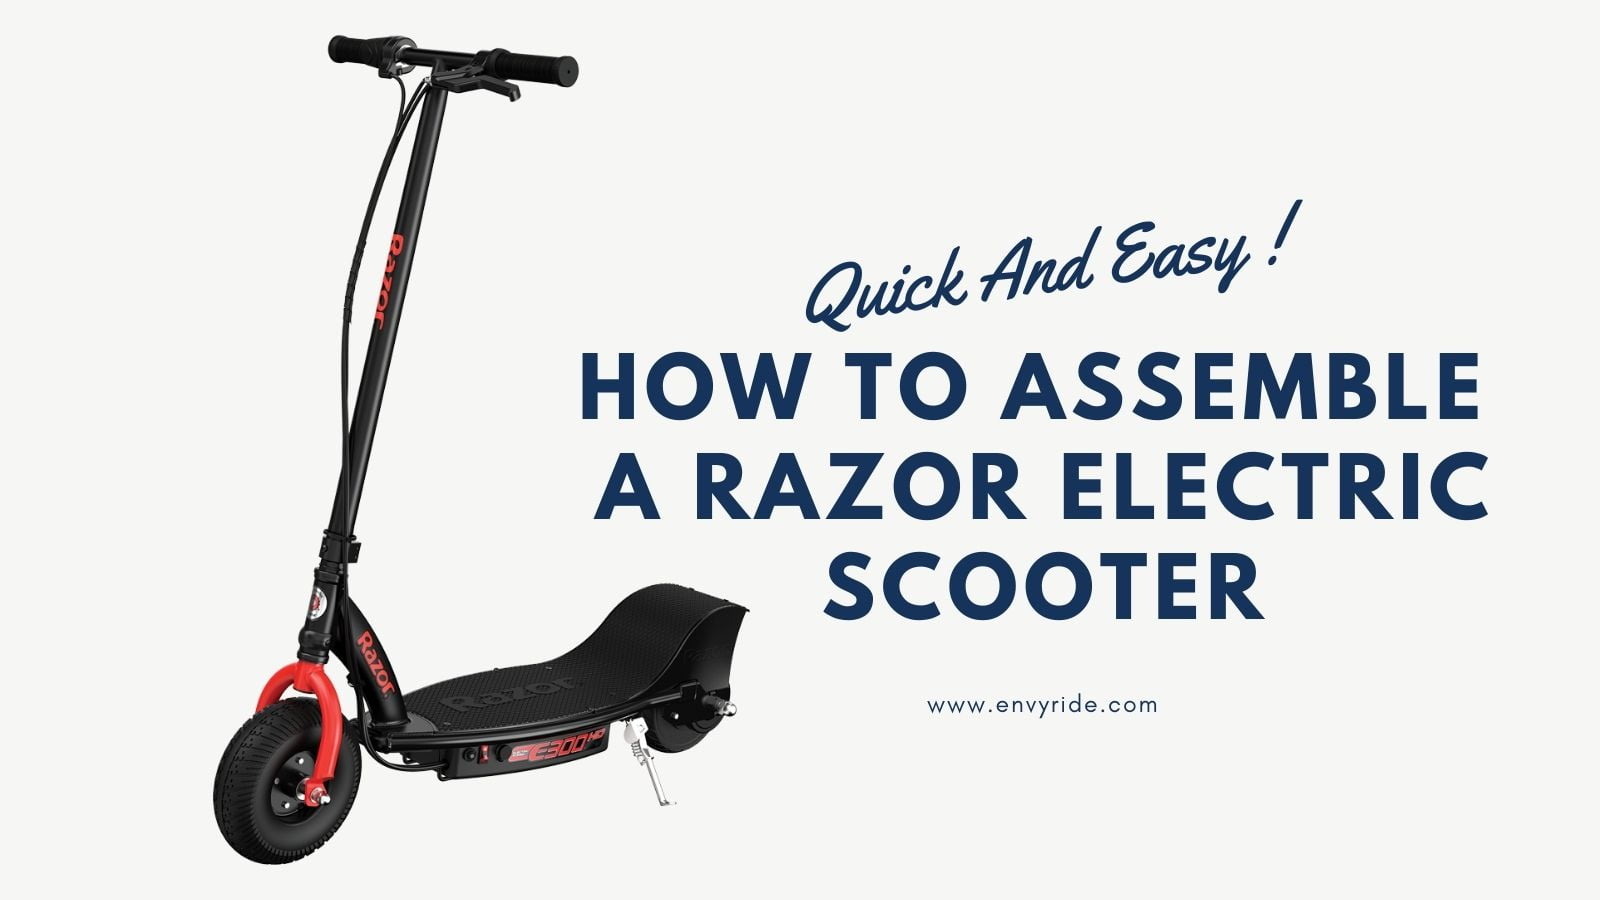
TABLE OF CONTENT
Electric scooters make life easier. Their design and weight are perfect for everyday use. Unlike the conventional means of transport, electric scooters allow users to travel safely, comfortably, and efficiently. With all of its advantages, the electric scooter has topped the modern gadget list as being one of the best. In this article we will talk about electric scooter assembly and help you better understand how to assemble an electric scooter.
Here’s How You Can Assemble An Electric Scooter
Assembling an electric scooter is not hard if you are following the right directions.
Usually, scooter companies develop the scooter manual and include it in the scooter packaging. The manual outlines detailed instructions that are easy for most people to understand and do themselves. Typically, there isn’t much to the electric scooter assembly as the scooter companies are really just making the scooter fit in a box that’s economical to ship you your house.
Most times the handlebar is detatched and the scooter is folded. Each tire is inflated (in the case of pneumatic tires) and generally, you just need to unfold the scooter. However, there are a number of models where the scooter company make you do a little more “putting together” of your device.
Before getting started on the assembly, study the parts and find out the places where the parts need to be fixed into place.
Once you are aware of the overall structure, you are good to go.
Begin assembling an electric scooter by following these steps:
- Unbox the electric scooter from the original retail packaging and inspect and all of its contents carefully.
- There should be a plastic bag that includes tools and a few screws used as part of the electric scooter assembly.
- If your scooter model has the front wheel detatched, you will have to install the front wheel first. Generally it’s one screw and one bolt so it’s pretty easy to do. However, make sure to follow the instructions the scooter company provides in the manual.
- Generally, to get the scooter to fit in the box, the scooter company will fold it. First, unfold your electric scooter, check for a plastic lever near the front wheel housing and pull it up with one hand while holding on to the stem.
- Once you get the stem to be perpendicular to the deck of the scooter, you can lock the stem by pushing the plastic lever back down.
- Next, you will need to attach the handlebar. Most often, the scooter companies will give you two screws that will secure the handlebar into place as soon as you slide the handlbar assembly over the top part of the stem. On some models, there is no screw and you can snap the handlebar into place.
- You’ll have to loosen the handlebar and set it according to the height you desire. Once you find the right height and the poles snap into the right places, you can secure or tighten the clamp.
How Does It Charge?
It’s essential that your scooter remains charged at all times. Don’t let the battery die completely, as it will only cause damage to the scooter, the battery and it will shorten the overall battery life. Charging an electric scooter is incredibly easy.
To charge your electric scooter:
- Connect the charging cable to the charging socket that can be found on your electric scooter. The scooter charger is usually a single prong socket and the charger end is usually the “male” end of the connection whereas the scooter has the “female” connector.
- Finally, plug the AC cable into the electrical outlet.

Note that while charging, you’ll see a red light the entire time. On some chargers the red light is solid and on other scooter models, the red light will flash.
Most scooters charge in a few hours. Generally, 3-4 hours. However, when you charge your scooter for the first time, it might take somewhere between 4-6 hours.
When your motorized scooter has finished its charging cycle, the light on the charger will be a solid green.
This means that your electric scooter is fully charged now.
How To Adjust The Brakes Of An Electric Scooter
All electric scooters come with some sort of a brake system. Most often you will find the brakes on the rear wheel. The brakes are either drum brakes or disc brakes. The front-wheel brake, if your scooter has one, is generally a mechanical brake.
The left side of the electric scooter handle will have the brake lever. When you squeeze the brake lever on the handlebar, the rear brake will be activated. In the case of a scooter with a dual braking system, both brakes will be engaged when squeezing the brake lever.
When you buy an electric scooter, the brakes are already adjusted. But as you start using it, you might have to adjust the breaks every now and then.
Adjusting the brakes:
- If you want to adjust brakes that are too tight, you can start loosening the screw from the left-hand brake lever. It can be easily adjusted by moving it anti-clockwise until the wheel moves freely.
- If the breaks are too loose, you’ll have to tighten them. For this, use the same screw near the left-hand brake lever and move it clockwise. Adjust it until it feels tight.
If you want to adjust the brakes further, look for the screw near the rear wheel and adjust it accordingly.
If you are hearing squeaky sounds, don’t panic. It’s normal and will not affect your electric scooter in any way. When you keep using it, the sound will fade away. But if it remains squeaking for a long period of time, then you should get it checked. We’ve outlined some ways to fix your electric scooter brakes.
To keep your scooter in a good and healthy condition, you must check it regularly.
- Keep your electric bike clean. Use a cloth or any damp rag to clean the exterior of the scooter. DON’T USE WATER. You can use a damp cloth on certain parts of the scooter but it’s best to make sure you keep any kind of moisture away from the tech stack and battery.
- Periodically, you should check each nut and bolt to ensure they are secured well.
- Inspect the battery charger and other connecting cables to ensure they are in good condition.
When you maintain your scooter, you’ll have fewer problems.
Be cautious not to leave your scooter charging for too long. Leaving your scooter on charge for long periods of time is not good for overall battery life and will reduce the longevity of your device.
The electric scooter has enabled people to have easy and fast transportation around their city. As one of the best choices of transport in urban areas, the surge in the use of electric scooters is tremendous.
Their ease of use and the ability to fold many electric scooter models to store them in tight spaces adds to the many benefits of having an electric scooter.
You can use these details to assemble your razor electric scooter and many other brands by following the steps mentioned in this article.
FAQ
Most Frequent Ask Questions and Answers
HOW DO YOU KNOW IF YOUR RAZOR SCOOTER IS CHARGING?
WHAT IS THE WEIGHT LIMIT FOR A RAZOR ELECTRIC SCOOTER?
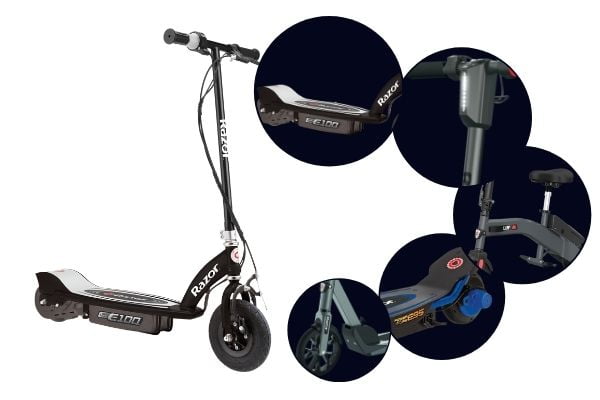
+ Maximum Rider Weight: E100 – 120 lbs; E200 – 154 lbs; E300 – 220 lbs (The construction of the E100 is very sturdy and will support more weight, but the less powerful motor will not propel you very fast.)
HOW LONG DOES IT TAKE A RAZOR ELECTRIC SCOOTER TO CHARGE?
When you get your new electric scooter, charge the battery all the way first. The recharge time will take 12 hours so plan accordingly. The light on the charger should be green when you plug the charger into the wall outlet.